Live Scan fingerprinting is fast and convenient—but only if you’re prepared. Showing up without the right form, forgetting your ID, or misunderstanding the process can lead to frustrating delays or even rejected scans. Whether you’re applying for a job, license, or volunteer position, taking a few simple steps before your appointment can ensure everything goes off without a hitch.
In this post, we’ll cover exactly what you need to bring, how to avoid common mistakes, and how to make your visit efficient and stress-free.
What Is Live Scan?
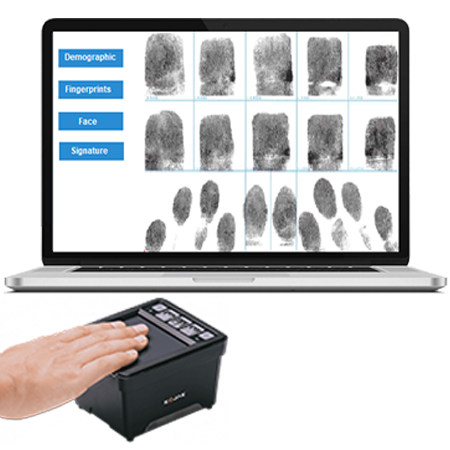
Live Scan is a digital fingerprinting method that captures high-resolution images of your fingerprints and transmits them electronically to the appropriate government agency. In California, it’s the preferred method for background checks required by the DOJ, FBI, and licensing boards.
Unlike traditional ink fingerprinting, Live Scan is faster, cleaner, and less prone to error—but your success still depends on how well you prepare.
Step 1: Bring the Correct Request Form
Before you do anything else, make sure you have your Live Scan Request Form. This form is typically provided by the employer, licensing agency, or organization requesting your background check.
It includes:
- ORI code (identifies the requesting agency)
- Application type
- Billing information
- Agency address for results delivery
Without this form, the Live Scan provider can’t submit your fingerprints—even if everything else is in order.
Tip: Make sure the form is completed and signed. Some locations require a physical copy, not a digital version on your phone.
Step 2: Bring a Valid Photo ID
To verify your identity, you’ll need a current government-issued photo ID. Accepted forms include:
- Driver’s license
- State ID card
- Passport
- Military ID
- Green card (permanent resident card)
The name on your ID must match the name on your Live Scan form. Expired IDs are not accepted.
Step 3: Know Who’s Paying
Some employers or agencies cover the cost of Live Scan fingerprinting. Others require the applicant to pay out of pocket. It’s important to clarify this before your appointment so there are no surprises.
Typical fees include:
- Rolling fee (charged by the Live Scan provider)
- Background check fee (determined by the requesting agency)
If you’re paying yourself, bring a valid form of payment. Many locations accept credit/debit cards, but some may require cash.
Step 4: Take Care of Your Hands
Because Live Scan relies on clear digital imaging, your fingerprints must be readable. Here’s how to make sure your hands are ready:
- Moisturize: Dry skin can make it harder for the scanner to capture clean prints.
- Avoid cuts or abrasions: Injuries can distort your fingerprints.
- Don’t use lotion or oils immediately before the appointment: This can cause smudging or scanner issues.
If you’ve had issues with unreadable prints in the past, inform the technician—they may have tips to help improve the scan.
Step 5: Know What to Expect
The Live Scan process is simple and typically takes 10–15 minutes. Here’s a breakdown of what will happen:
- You’ll provide your ID and completed request form.
- The technician will enter your information into the Live Scan system.
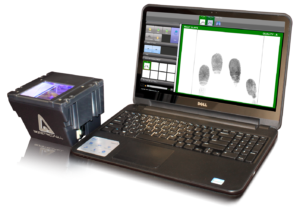
- You’ll place your fingers on a glass scanner, which captures prints electronically.
- Your prints are securely transmitted to the appropriate agency.
You won’t receive the results yourself—they are sent directly to the requesting organization.
Step 6: Choose a Certified Location
Live Scan must be performed by a certified provider approved by the California DOJ. Not all fingerprinting services meet these standards.
For reliable service in Orange County, Newport Beach livescan is available at Newport Beach Mailboxes & More. They are a certified provider offering quick, accurate service and convenient hours for walk-ins or appointments.
Bonus Tip: Don’t Wait Until the Last Minute
While Live Scan is typically processed quickly, delays can happen. Fingerprint rejections, agency processing times, and holidays can all slow things down. Schedule your Live Scan as soon as possible after receiving your request form to avoid missing deadlines.
Final Thoughts
Preparing for your Live Scan appointment is simple—but crucial. Bringing the right documents, choosing the right provider, and taking care of your hands can save you time and frustration. A smooth fingerprinting experience starts with preparation.
Stay tuned for the next post, where we’ll dive into how Live Scan fits into the background check process and what happens after your fingerprints are submitted.